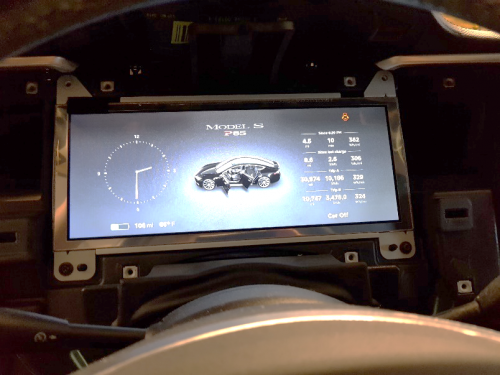
Removing the Instrument Cluster
Step-by-Step guide to remove the Instrument Cluster
Step 1
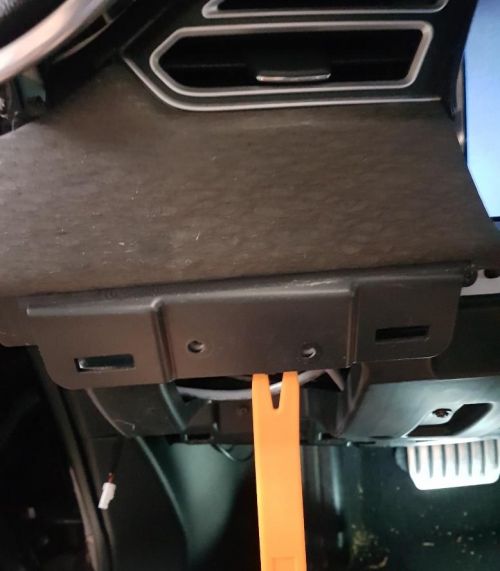
Remove the “faux leather” knee-board trim just below the IC and steering wheel. It’s the large piece with a soft touch feel to it. This piece is held in place by pegs. It’s easiest to start over on the right side just below the hazard lights button, to the left of the MCU. Put your palms facing away from you, touching the soft surface, and grab the top ledge of the trim with your fingers and pull back. It will eventually pop out, and you can work your way to the left and remove the parts under the vent to the left of the steering wheel. To be safe, put the piece of trim in a safe place where it won’t get scratched. Back seat, or trunk, are good options.
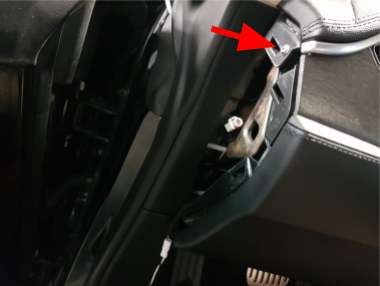
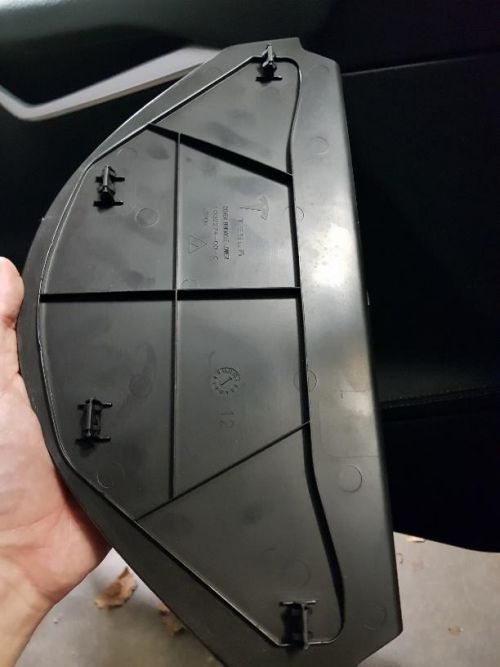
At the same time, go ahead and remove the small “hatch” cover trim panel on the left side of the dash where the door meets the dash. There is a screw in here (red arrow) that holds the top dash trim to the frame which is essential to remove! The video instructions to remove the IC did not include this screw.
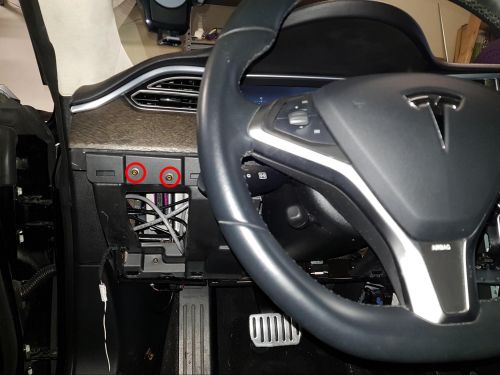
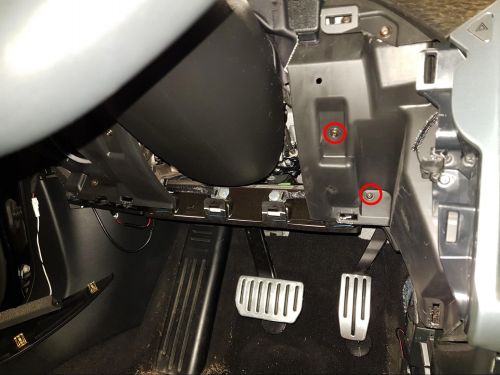
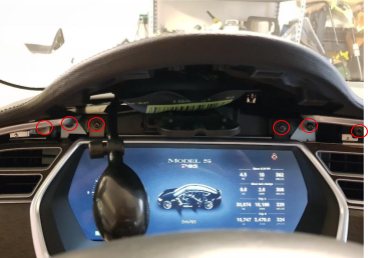
The upper right and right pics show other screws that will need to be removed. Go ahead and remove the two on the left now.
Step 2
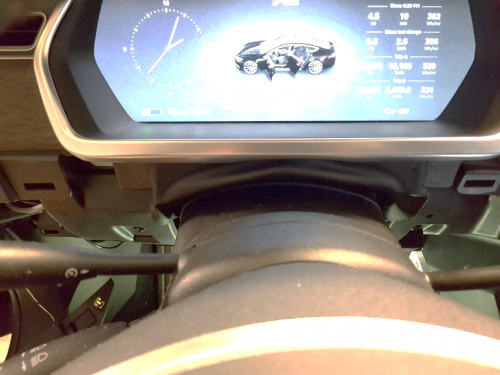
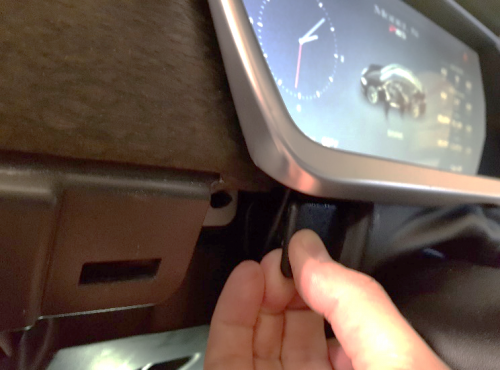
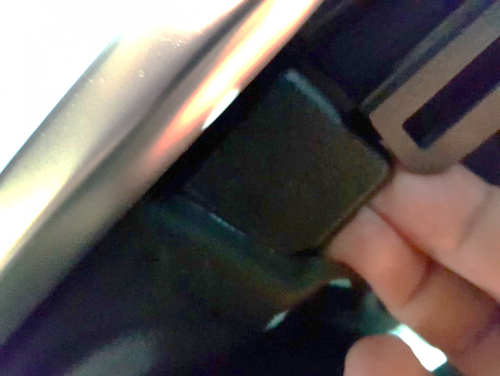
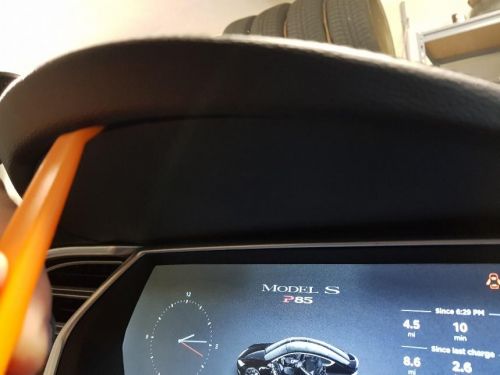
Next you have the small piece of trim just above the steering wheel. Note that this can be very tight. It’s held on only with pegs. The IC disassembly video didn’t show this part (it was already loose). You can see two plastic tabs on the left and right side. Don’t grab and pull straight back. Instead, grip them from the bottom and pull the bottom up at a slight angle. The tabs will pop out quickly (see pics below).
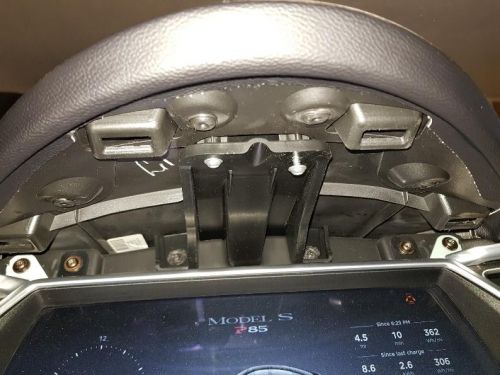
Remove more screws! There are two screws under the small trim piece you just removed, on the right and left sides. Remove both of them. Also, in the right pic below, remove the screw on the right.
Step 3
It’s dash time! There is a thin plastic panel above the IC, on the bottom of the sun guard. Pry it off with a trim removal tool. It’s held in place with 4 pegs (right pic).
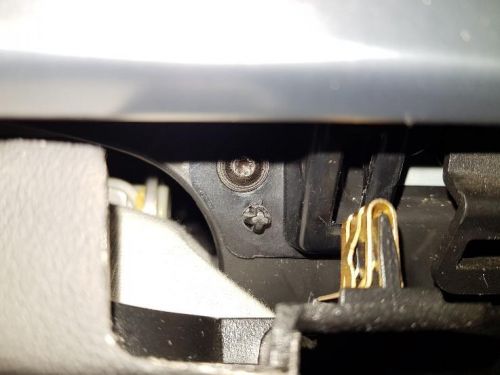
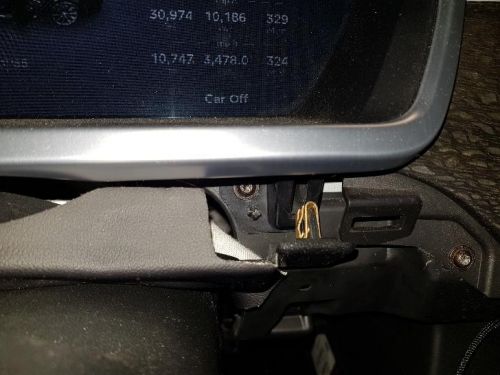
Next take out two more screws holding the frame to the trim. Then, put in your air-shim tool and pump it up! This is the part where you want to make sure you removed that one screw in the side hatch! Pump it up until you reveal the screws shown in the pics above. At this point, you should be able to remove the silver colored IC shroud.
Step 4
Almost there. Now remove your two AC vent trim pieces. Be careful with this part, as these are the pieces that make your car look pretty. They don’t make Lacewood anymore in my case. Put these somewhere soft where they won’t scratch, like on the carpet. Use a pry tool to pull them away from the dash on the bottom. Make sure you’ve removed the screw holding them into the dash on the top as well (it’s one reason we raised the dash in the last step).
Now you have access to the final two screws (pic below).
