Tinkla Buddy Installation
| What is Tinkla Buddy? | Tinkla Buddy Install Kit | Installing your Tinkla Buddy | Configuring your Tinkla Buddy |
Contents
Buddy Installation
The hardest part of installing a Tinkla Buddy is finding an always-on power source. The three most viable options are (a) if you have a Tesla with the Cold Weather package there is a fuse box near the accelerator which makes this a 30 minute install, (b) if you have a fuse box behind the passenger kick panel (2016 and later) and you'll need to re-crimp your 12v red wire for an hour install, or (c) if you don't have a fuse box in the cabin pull a wire through a gasket on the firewall behind the washer fluid reservoir in the Frunk which can take 1-2 hours.
For those getting the Buddy for Beta testing, you need to send @BogGyver#9177 your VIN, so he can add it to his server.
Instrument Cluster Connections
There are multiple videos on how to remove the Instrument Cluster [IC], here is one for the Model S:
Tools worth investing in:
Step-by-Step guide to remove the IC
Step 1
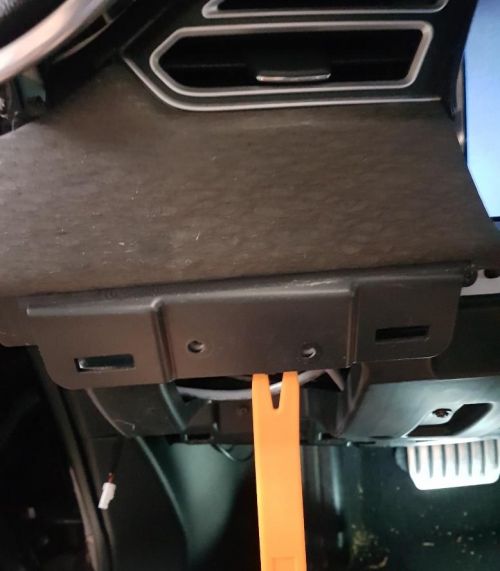
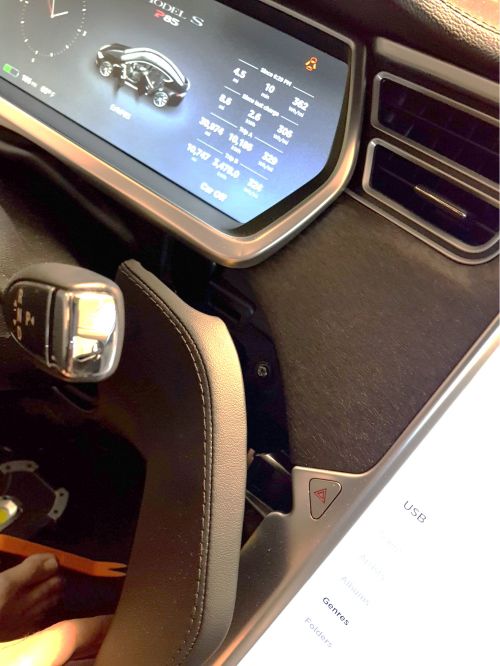
Remove the “faux leather” knee-board trim just below the IC and steering wheel. It’s the large piece with a soft touch feel to it. This piece is held in place by pegs. It’s easiest to start over on the right side just below the hazard lights button, to the left of the MCU. Put your palms facing away from you, touching the soft surface, and grab the top ledge of the trim with your fingers and pull back. It will eventually pop out, and you can work your way to the left and remove the parts under the vent to the left of the steering wheel. To be safe, put the piece of trim in a safe place where it won’t get scratched. Back seat, or trunk, are good options.
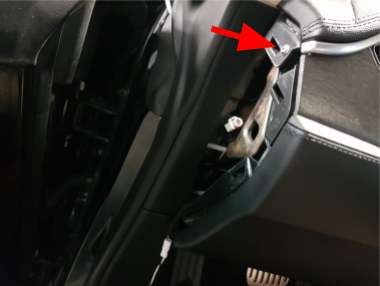
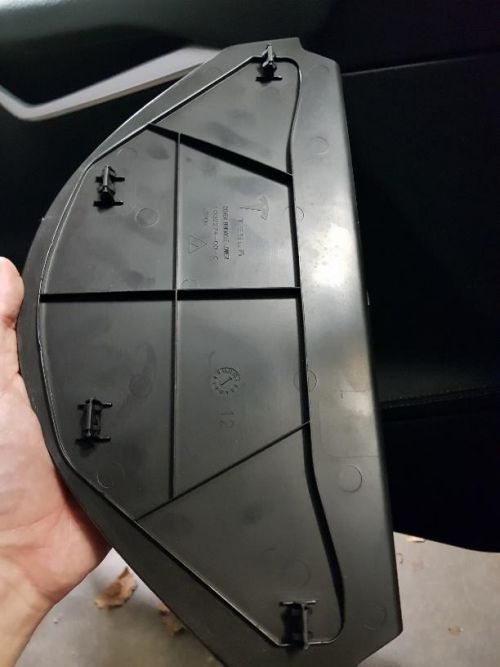
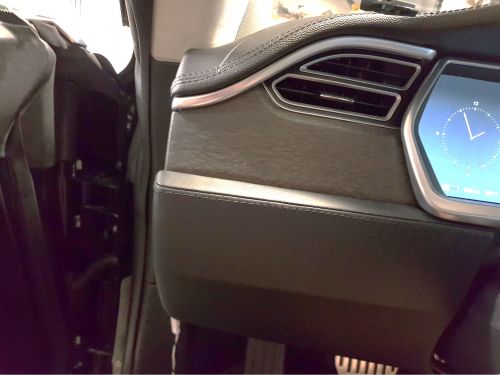
At the same time, go ahead and remove the small “hatch” cover trim panel on the left side of the dash where the door meets the dash. There is a screw in here (red arrow) that holds the top dash trim to the frame which is essential to remove! The video instructions to remove the IC did not include this screw.
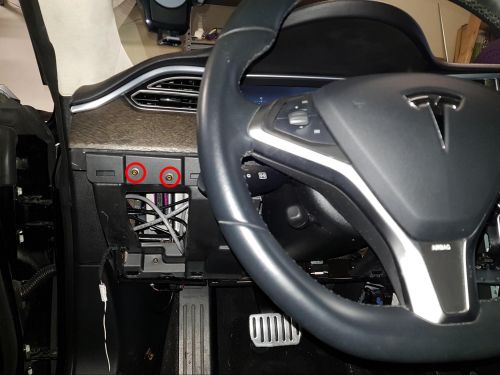
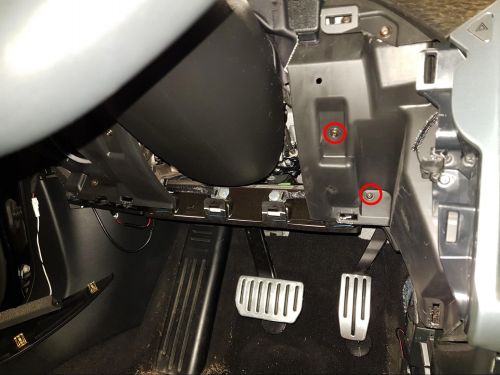
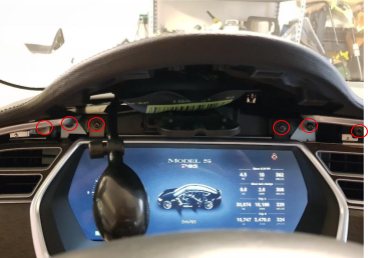
The upper right and right pics show other screws that will need to be removed. Go ahead and remove the two on the left now.
Step 2
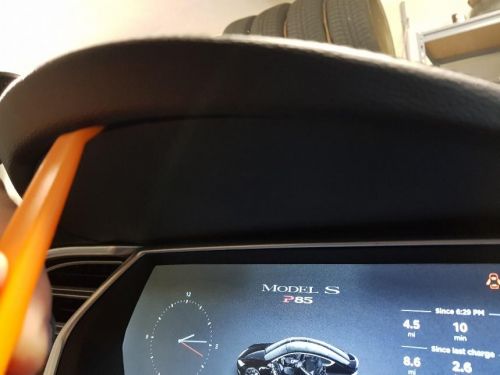
Next you have the small piece of trim just above the steering wheel. Note that this can be very tight. It’s held on only with pegs. The IC disassembly video didn’t show this part (it was already loose). You can see two plastic tabs on the left and right side. Don’t grab and pull straight back. Instead, grip them from the bottom and pull the bottom up at a slight angle. The tabs will pop out quickly (see pics below).
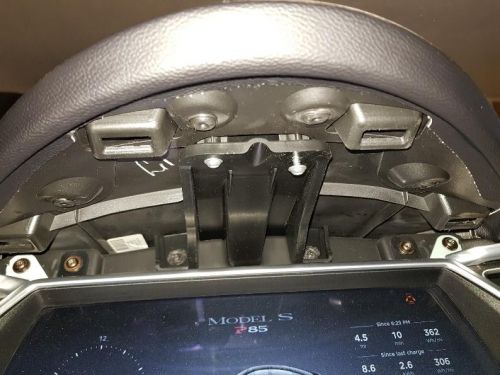
Remove more screws! There are two screws under the small trim piece you just removed, on the right and left sides. Remove both of them. Also, in the right pic below, remove the screw on the right.
Step 3
It’s dash time! There is a thin plastic panel above the IC, on the bottom of the sun guard. Pry it off with a trim removal tool. It’s held in place with 4 pegs (right pic).
Next take out two more screws holding the frame to the trim. Then, put in your air-shim tool and pump it up! This is the part where you want to make sure you removed that one screw in the side hatch! Pump it up until you reveal the screws shown in the pics above. At this point, you should be able to remove the silver colored IC shroud.
Step 4
Almost there. Now remove your two AC vent trim pieces. Be careful with this part, as these are the pieces that make your car look pretty. They don’t make Lacewood anymore in my case. Put these somewhere soft where they won’t scratch, like on the carpet. Use a pry tool to pull them away from the dash on the bottom. Make sure you’ve removed the screw holding them into the dash on the top as well (it’s one reason we raised the dash in the last step).
Now you have access to the final two screws (pic below).
Step 5
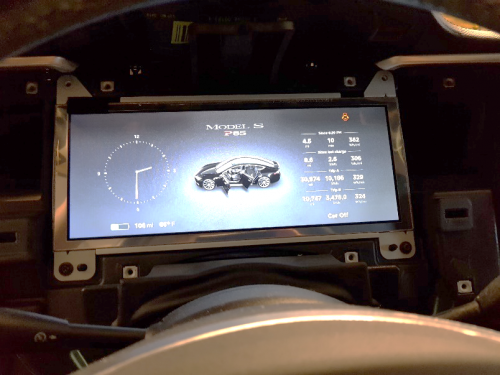
Now you can pull the IC out towards you, and then rotate it so that the screen faces the roof of the car.
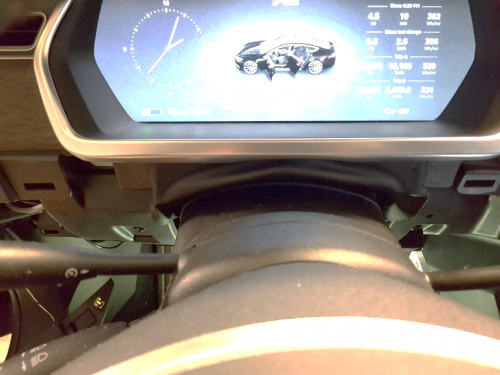
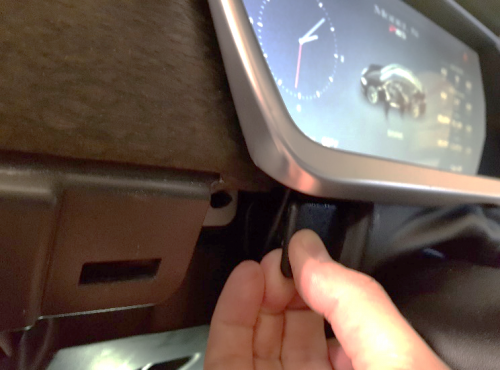
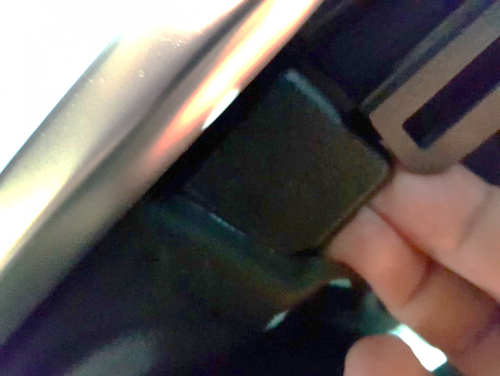
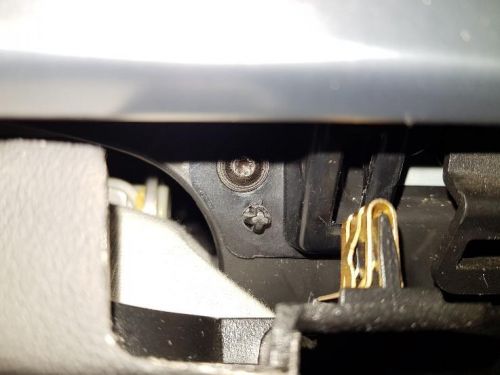
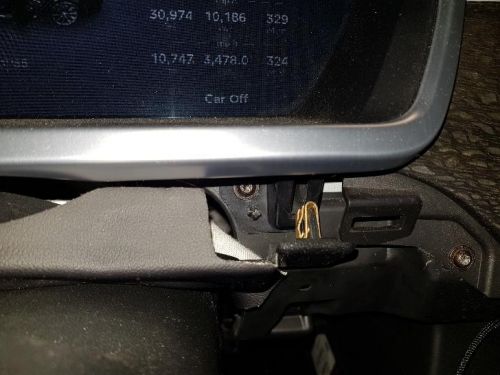
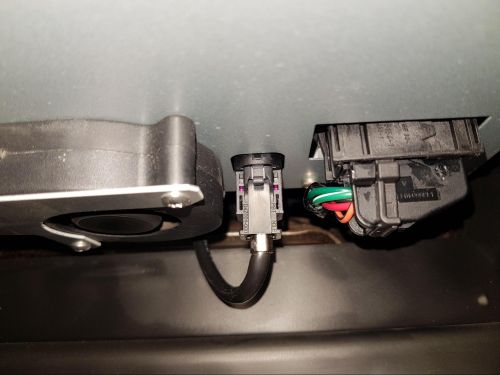
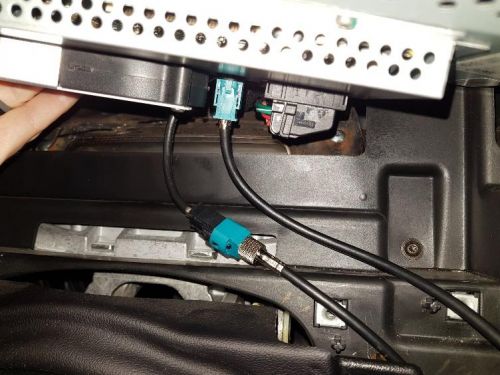
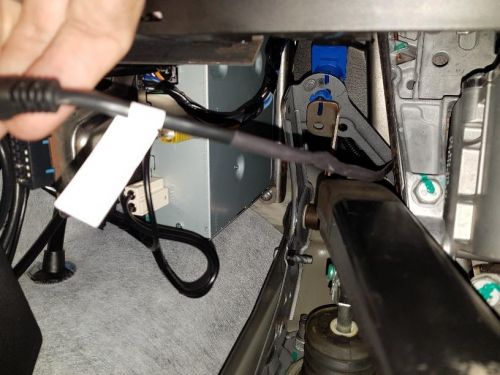
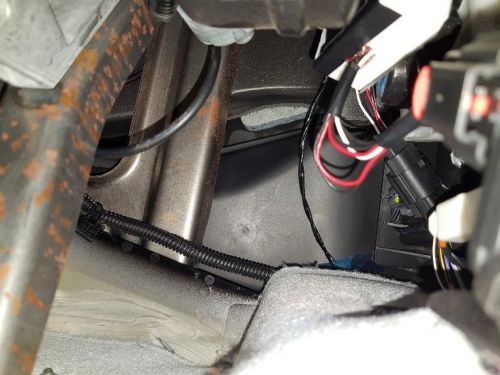
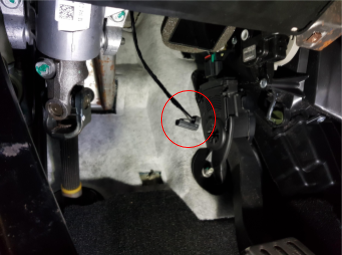
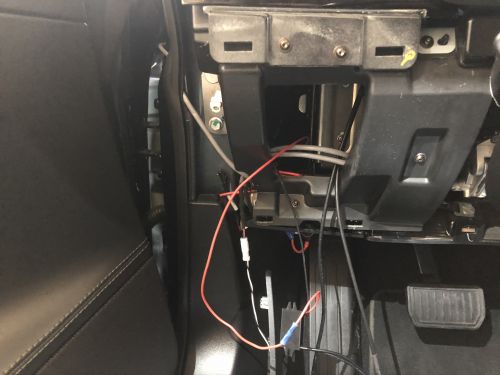
The fakra connector is coming straight out. Get a flat head and push on the tab. In my case it was taped tightly to the loom bringing power in, so there was no fear of it falling into the dash. If that does happen to you, you can get to it by going under the steering wheel (see pics below for reference). Plug your new cable into the IC and then plug the other into the car’s cable (only one right way to plug them). Route the cables back in the hole behind the IC where the original network cable came from. Push the IC back into place on its alignment pegs. You’ll want to get both cables over to the left “hatch” on the left of the dash; that’s a good place to put the Buddy. In my case I just stuck it next to the pedal so running power was easy.
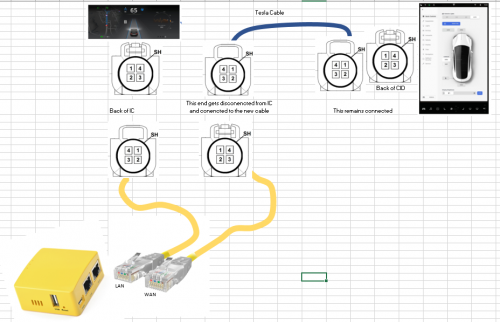
After you have opened up the IC, and you can access the Fakra cable on the back, you can connect your LAN Fakra-RJ45 cable directly on to the back of the IC. Then you can take the WAN Fakra-RJ45 cable and connect it to the cable that was previously connected to the IC.
Here is a diagram of the end result:
While the Dash is already open, this is a good time to run power for your Tinkla Buddy.
Power
Based on your Tesla Model and included packages, you'll want to follow the corresponding installation guide for Power. We'll need a 12v constant power supply. Places like the USB outlets or 12v accessory outlet is no good because those switch off when the car is "off". If you have an AP1 car or have completed the full AP1 retrofit and you aren't using it for OpenPilot power, you can just use the empty OBD port.
Tesla w/Cold Weather Package or Tesla Model X (Fuse Box in cabin)
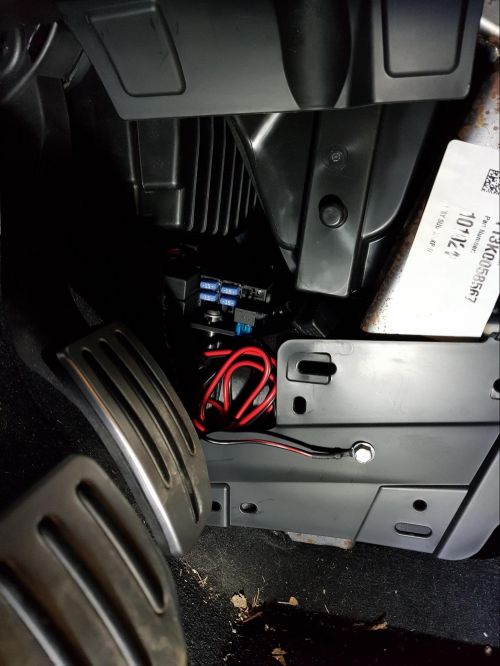
If you have a Tesla with the Cold Weather package then there is a fuse box near the accelerator which makes this a 30 minute install. [1]
Model X You will need a new Fuse Holder and a ring terminal for Power.
Step 1 - Remove Console trim and Footwell trim
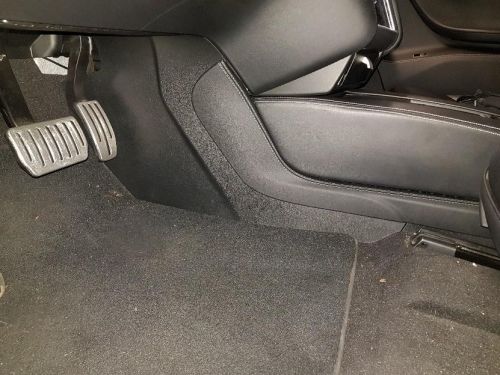
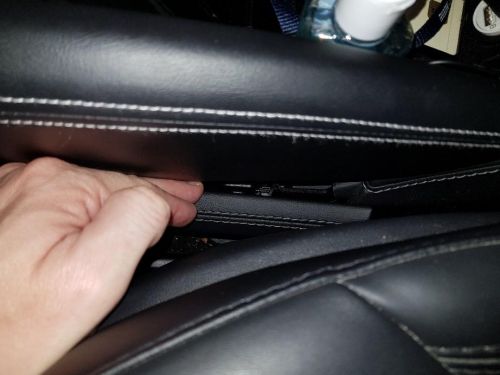
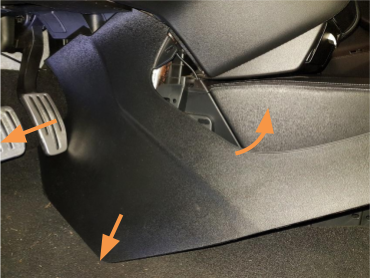
You need to remove two pieces of trim on the center console and footwell: the soft touch faux leather trim that runs along the side and beside the driver’s seat and the hard plastic that it overlaps slightly. Remove the soft faux leather one first. Start at the very end near the driver seat and pull it away from the center console (see right pic). It’s held on with pegs.
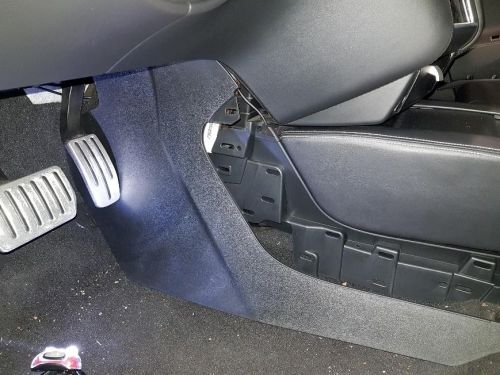
Removing the plastic bit is a little more complicated. First, grip it from the exposed opening and pull it away from the center console and dash. It makes contact with the airbag and trim under the dash. You’ll need to angle it upwards and rotate it up while also pulling the bottom towards you. Push the accelerator pedal out of the way to pull the trim towards you. This will also be 100% easier if you set your footwell carpet aside. You’ll want to place the soft leather piece somewhere it won’t get scratched like the back seat.
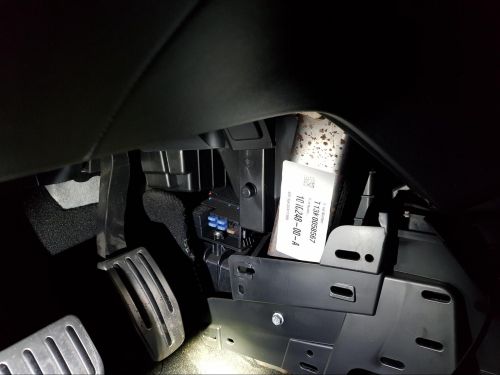
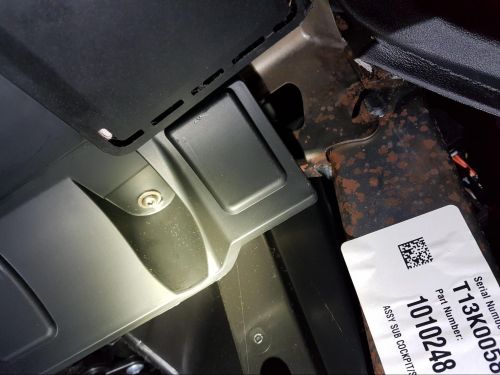
Now that you have the side panels off, you can see the exposed fuse box near the accelerator (below).
Step 2 - Remove the trim panel under the steering wheel.
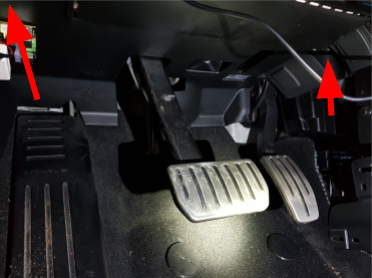
You’ll want to remove this screw on the right, and a corresponding one on the left below the dash (red arrows).
Note the power adapter for the footwell light (black connector in right pic). You’ll use a flathead screwdriver to remove it. Afterwards your footwell looks like the right pic.
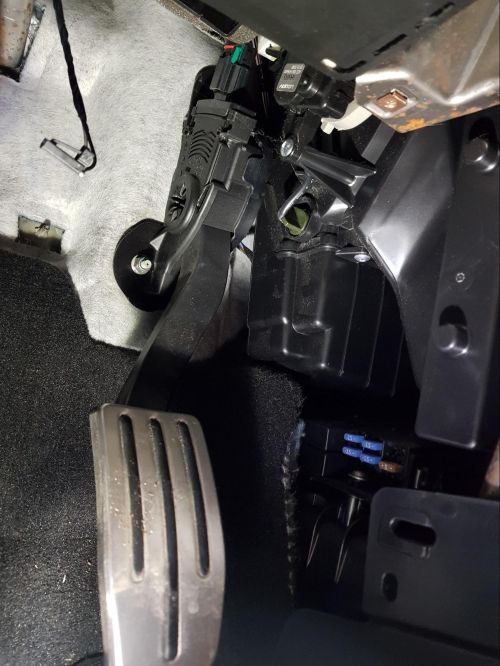
On the left is a view of the accelerator pedal with the fuse box just to the right of it. Also shown at the top of the pedal is the connector where you plug your comma pedal in. If you haven’t done so yet, this is an opportune time to put the pedal in, too.
Step 3 - Now it’s time to get power
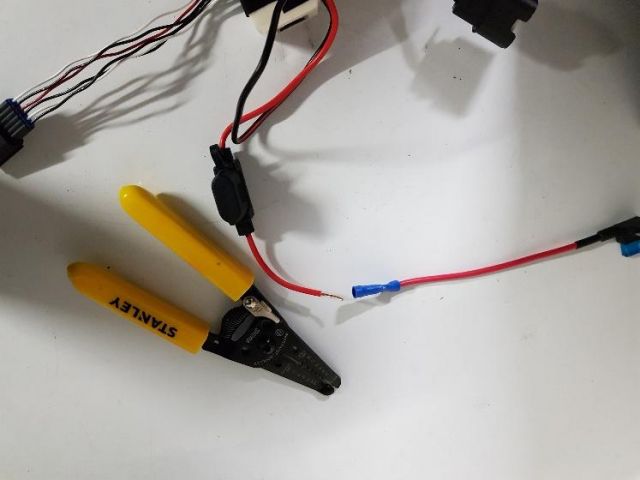
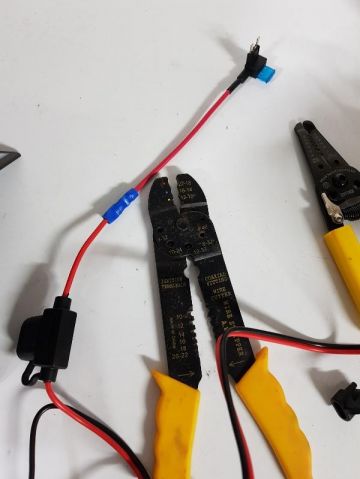
If your fuse adaptor has a butt connector, you’re half way there. First, cut and strip the end of the wire coming from your USB power supply (if not already stripped). Crimp it into the butt connector. Then, choose a suitable fuse in the fusebox. The 5A brown fuse on right should work. Put the 5A fuse in the free slot of your adaptor. Then, plug the adaptor in as shown (the fuses are pointing down). Finally, route the loop connector to the 10mm screw just below and to the right of the fuse box. Screw it in and you have ground.
Once you're done running power we can move on to connecting the Tinkla Buddy.
Tesla S built 2016+ (Fuse Box in cabin)
If you have a 2016 or later Tesla then there should be a fuse box behind the passenger kick panel and you'll need to re-crimp your 12v red wire which will make this about an hour install.
Once you're done running power we can move on to connecting the Tinkla Buddy.
Tesla w/o Fuse Box in Cabin
If you don't have a fuse box in the cabin then pull a wire through a gasket on the firewall behind the washer fluid reservoir in the Frunk. Depending on your method of poking a hole in the gasket and your method of pulling your 16-18 gauge wire through your hole, this can take between 1-2 hours if not longer.
Tools required:
- 13mm socket (for the ground)
- Plastic pry tool
- Fishing tape (or metal hanger)
- Sharp tool to poke a hole in a rubber gasket.
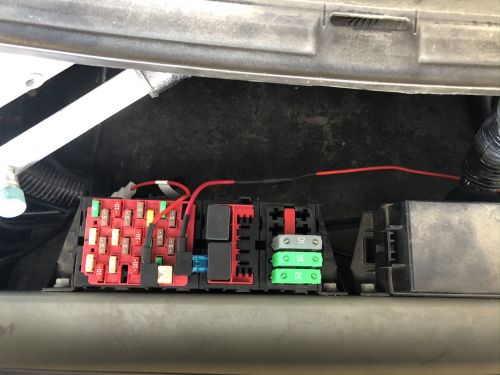
Above you can see Fuse Box 2 in the Frunk. The red wire from TBuddy is tapped into an empty F36 fuse. (this car doesn't have Air Suspension.)
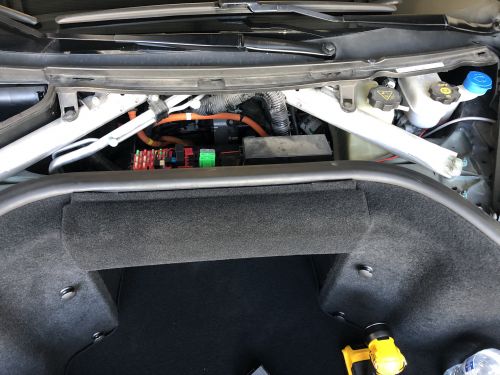
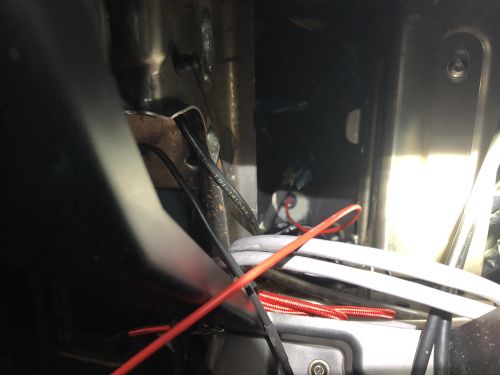
Above is a zoomed out view of where the red wire runs to get to Fuse Box 2
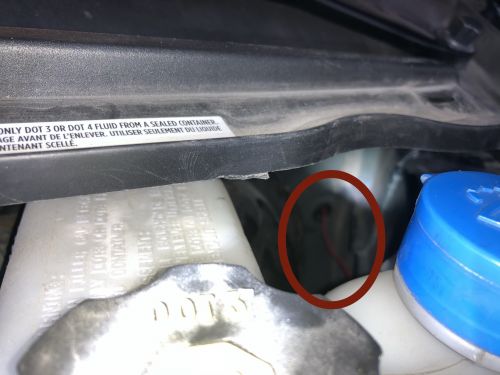
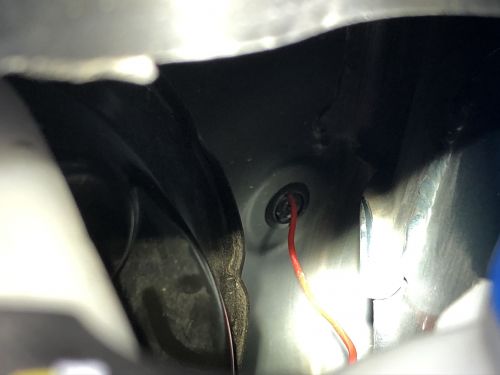
The picture above is looking behind the washer fluid reservoir, you can see a gasket that will give us access to the cabin.
Above is a closer view of the gasket in the frunk that we can use to route cables into the cabin.
Above is the cabin side of the gasket, hiding low and left when you take off the driver's side kneeboard.
Above is a zoomed out view of the compartment behind the kneeboard. there is a plastic panel on the left which is easy to remove and has two 13mm bolts you can use for ground.
Once you're done running power we can move on to connecting the Tinkla Buddy.
Connecting the Tinkla Buddy
Before you're ready to power the Buddy:
- Make sure you have the RJ-45 barrel on the network cables,
- the IC and CID are online,
- and the Tesla is ON. (Press and hold the Brake until you hear/feel the car turn on.)
Then while the Buddy is unplugged from power, insert the RJ-45 cables into the correct jack on the Buddy.
- The CID goes in the WAN port
- The IC goes in the LAN port.
The SD card with the latest disk image should be inserted into the Tinkla Buddy BEFORE power is connected to the Buddy.
Now you can plug power into the Tinkla Buddy.
At this point the Buddy will reboot 3-4 times, and then attempt to receive the certs from the Tinkla Buddy server. This takes about 4-5 minutes. Image inflation can take a good deal longer. Walk away from your car and give the Buddy about 20 minutes to finish initializing. When you return you should see two flashing green LEDs on the Tinkla Buddy and one red flashing LED.
Install Complete
To get IC AutoPilot integration view, update your OpenPilot Configuration File to look like: enable_das_emulation = True then when the car is "On" showing PRND, the IC will do a soft restart and change to the AutoPilot view.
To see if it is working you have two ways to activate the Tinkla Menu:
- Press steering wheel menu button 4 times, if this does not work, then go to step 2.
- Press park button 4 times fast.
- ↑ Installing tinkla buddy with in-car fuses by @erflesby
